You probably took one look at that picture and thought, “what? No, that can’t be easy. It looks like it takes hours!”
Jump to RecipeWell yes, Panna Cotta does take hours. But it takes hours of you browsing Netflix while it sits in the fridge and does its own thing. For about 10 minutes of work, you get at least 2 hours of TV and an absolutely stunning and delicious dessert at the end. Sound good?

What is Panna Cotta?
Panna Cotta is an Italian dessert resembling a custard or mousse (though it is neither of those things.) The name means “cooked cream,” which is essentially all you need to know! It’s light and creamy and delicately sweet – everything a great classic dessert should be. The story goes it originated in the Piedmont region of Italy (that’s in the north), but desserts made from cooked dairy are common in many cultures.
The basic ingredients and simple technique gives you plenty of opportunities for variety. You can create softer or firmer panna cottas using gelatin, milk, cream, sugar and seasonings. That’s it!
The great thing about Panna Cotta? No eggs! It’s not a custard. So you don’t have to worry about curdling or breaking or accidentally making scrambled eggs. There are very few things that can go horribly wrong with Panna Cotta and most of them are fixable if you have enough time.
How is Panna Cotta served?
Serving Panna Cotta all depends on your preference! If you are hosting a small intimate dinner party, it’s very impressive to bring out four perfectly plated little panna cottas. But for larger gatherings, serving them in fancy wine glasses with some toppings. Adjusting the amount of gelatin and the setting time can give you a wide variety.
- Firm – removed from its mold and served on a plate with toppings
- Medium-Firm – can be removed from its mold and plated or served in a glass
- Soft – should remain served in a fancy glass with toppings resting inside
This list doesn’t include the huge myriad of spices you can add to the cream or fun and fancy toppings you use to spruce it up. My favorite options are:
- Seasonal berry compote
- Chocolate shavings and espresso cream
- Sliced Mango with Coconut shavings and lime zest
- Stewed Cinnamon Apples
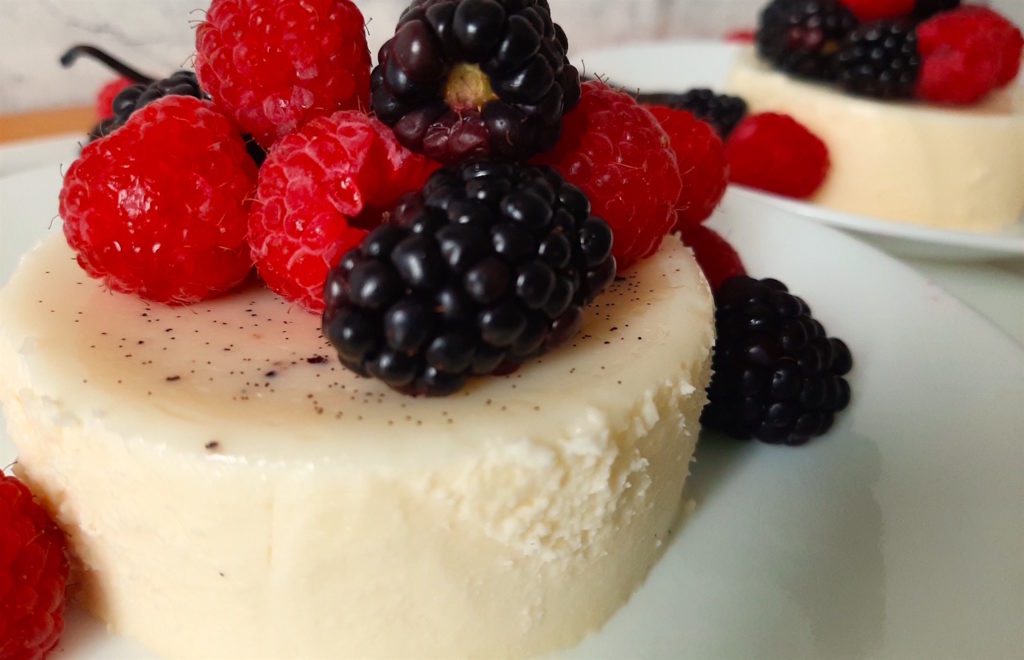
I tend to think of it as a summer dessert. Its served cold, fresh out of the fridge, and usually covered in berries.
But depending on what topping and spices you choose, Panna Cotta can make a refreshing change of pace after weeks of pies and heavy-hitters like Turkey. Every once in a while it’s nice to not turn on the oven.
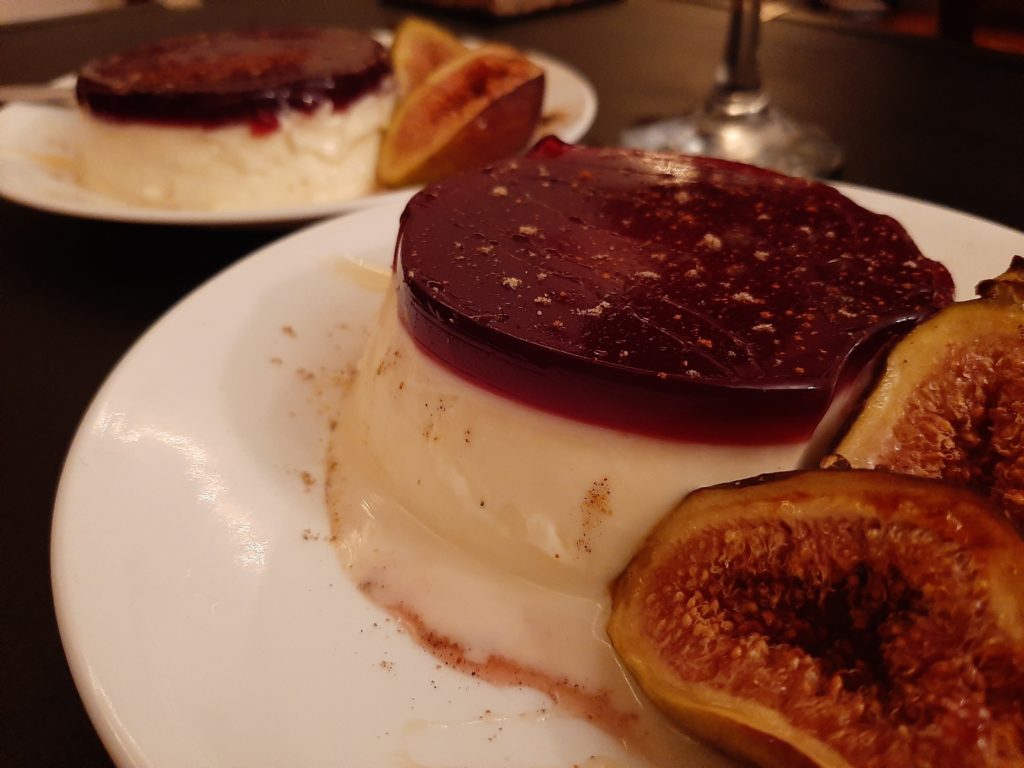
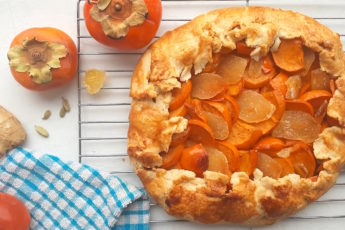
Look below for some fall and winter ideas like this Cardamom Panna Cotta with Port Wine Gelée and Figs.
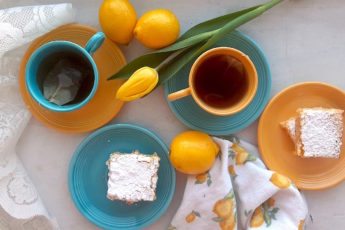
Want another light and refreshing dessert? Try these adorable and super easy mini fruit tarts! Or these Lemon Love Note Bars with Shortbread Crust. And Boozy Raspberry Eton Mess is perfect for summer picnics!
Another great summer dessert? This easy homemade Mango Coconut Soft Serve!
Do I need to make Panna Cotta in advance?
Yes. The one down-side to panna cotta is it needs to be prepared in advance. The gelatin needs time to set and firm up in its mold. This can take anywhere from 2-4 hours in the fridge.
How long in advance? I always try to make panna cotta the night before my dinner or party so it sets overnight. That way you can check it in the morning to be sure it’s the consistency you want. (You’ll be able to tell if it’s soupy.) If something has gone wrong, you also have plenty of time to fix the panna cotta and allow it to reset before guests arrive!
How do I store Panna Cotta?
Keep it cold until serving! Whether that means freezer or fridge, either works.
- Serving panna cotta fresh, store it in the fridge for up to 4 days in advance.
- Storing it in the fridge for more than 24 hours? Cover the top of your ramekin with plastic wrap (touching the cream) so it doesn’t form a thick skin. Take it out 10 minutes before serving.
- Freezing Panna Cotta? make sure the top of the ramekin is fully covered and airtight. You don’t want to dry out the dessert too much or make it taste like freezer. Let it defrost in the fridge for 12 hours before serving.
Four Elements of Panna Cotta: Gelatin
Gelatin (or some sort of thickening agent) is necessary for panna cotta. Without it, the Panna Cotta will never set and you’ll get cooked cream soup. Ick. Gelatin is collagen from animal parts like bone, cartilage, and skin. The product itself is odorless, flavorless, and colorless, especially if you find one specifically labeled “neutral.” Gelatin is not vegan or Kosher.
How Much Gelatin to Use?
Here is one of the great debates of panna cotta. Gelatin creates that lovely wobble and delicate jiggle that is integral to an excellent panna cotta. Too little gelatin and it doesn’t set. Too much and you get this thick, rubbery, cheesy sort of situation.
- ½ tsp per cup – this is the kind of panna cotta that is soft, velvety and unlikely to hold its shape out of its original container. Use this if you plan on serving in a glass. If you use just a little more than this your panna cotta will hold, but once you take the first spoonful its shape will loosen and spread.
- 3 tsp per cup – this is a much thicker, and firmer and will hold its shape out of mold. We haven’t quite reached rubbery yet, but you can slice through this with your spoon and the rest of the shape won’t change.
- Ideal amount? I personally prefer a panna cotta somewhere in the middle here, though closer to the loose and jiggly end of the spectrum! I usually go for ¾ to 1 tsp gelatin per cup of liquid!
What kind of Gelatin to Use?
- Powder/Granulated: Powdered gelatin is commonly found in the United States. You’ll find it in the baking aisle of your grocery store. (If you can’t find it near the spices, try the Jell-O section.)
- Leaves: Have a clearer texture and a more pure flavor. However, with something like panna cotta that is opaque and fairly flavored, this isn’t as important. Gelatin leaves are harder to find in the United States.
The conversion for the above gelatin types is:
1 envelope granulated (0.25 oz) = 1 tablespoon powder = 3.5 gelatin sheets
- Vegan alternative: Agar-agar. If you’re vegetarian or vegan, agar-agar is a perfectly acceptable substitute and works very well. As yet, I have never experimented with amounts of agar-agar so I can’t give you exact ratios. (But I do know you’ll need slightly less agar-agar than gelatin, around 20% less. But don’t quote me!) Lazy Cat Kitchen has an excellent vegan recipe.
How to Bloom Gelatin?
Blooming gelatin involves soaking the gelatin in cool liquid allowing it to absorb moisture, soften, and expand. This is an essential step! Do not leave it out and just dump gelatin into your cream. You can bloom it in any liquid but most panna cotta recipes call for bloom in water, cream, or milk.
The one rule about blooming gelatin is to avoid soaking it in some fresh juices as the enzymes can degrade the proteins!
Four Elements of Panna Cotta: Fat/Dairy Base
The whole concept of Panna Cotta is based on the ratio of fat content to gelatin. So obviously this part is pretty key. Which dairy you choose will also affect the flavor.
- Cream: The name of the dish is “cooked cream,” but using entirely cream will make your panna cotta very heavy and very rich. You’ll have a mouthful of fat. But, it could be a good thing if you’re into that.
- Milk: Full milk panna cotta is definitely less decadent than most versions. You’ll need to increase the gelatin to account for the loss of fat. Most recipes use at least partial milk mixed with cream to lighten the overall texture, feel, and flavor.
- Half and Half: A good option for creating homogenized fat content.
- Non-Dairy: Almond milk, coconut milk, and soy milk are all options. But, as with milk, you’ll need to increase gelatin to account for fat loss.
Four Elements of Panna Cotta: Sugar
Amount:
As with most dessert recipes, you can increase or decrease sweetness by using sugar. I like to use ¼ cup sugar to keep it less sweet so I can enjoy the flavors of the cream and spices. Feel free to add a little more if you like it very sweet.
Size:
One final sweet thought to consider…sugar granule size.
While you’ll be dissolving sugar in the warm cream, sometimes granules can escape your notice and make for a grainy texture. To avoid this, you can use very fine sugar like caster sugar for a guaranteed smooth texture. You can find caster sugar in specialty baking shops. But if you can’t, regular granulated sugar will work just as well. If you are using caster sugar, you’ll need to add about 1 tablespoon more. (Don’t use something like powdered sugar, the consistency is too different and it won’t dissolve the same way.)
Four Elements of Panna Cotta: Flavors
Panna cotta is the perfect backdrop for exotic and exciting flavors. Fortunately, adding them in is fairly easy to do!
- Flavorings like chocolate, cinnamon, cloves, or even bay leaves should be added into the cream while it cooks
- Zest from fruit should be added after you’ve removed the cream from the heat
- Alcohol flavors like rosewater, extracts, or spirits should be added at the very end to prevent evaporation and loss of flavor
- Fruit, sauces, and garnishes should be added just before serving
Panna Cotta Tips:
- Bloom your gelatin over cold liquid
- Do not boil the cream
- Add your bloomed gelatin only to hot cream
- Use caster sugar for a smooth texture
- Pour your cream through a strainer before it goes into the mold
- Make Panna Cotta no more than 4 days in advance
- Fruit with bromelain (pineapple and kiwis) should either be cooked before being added or added right before serving
- Cover your panna cotta with plastic wrap right against the top when placing in the fridge or freezer to avoid forming a skin
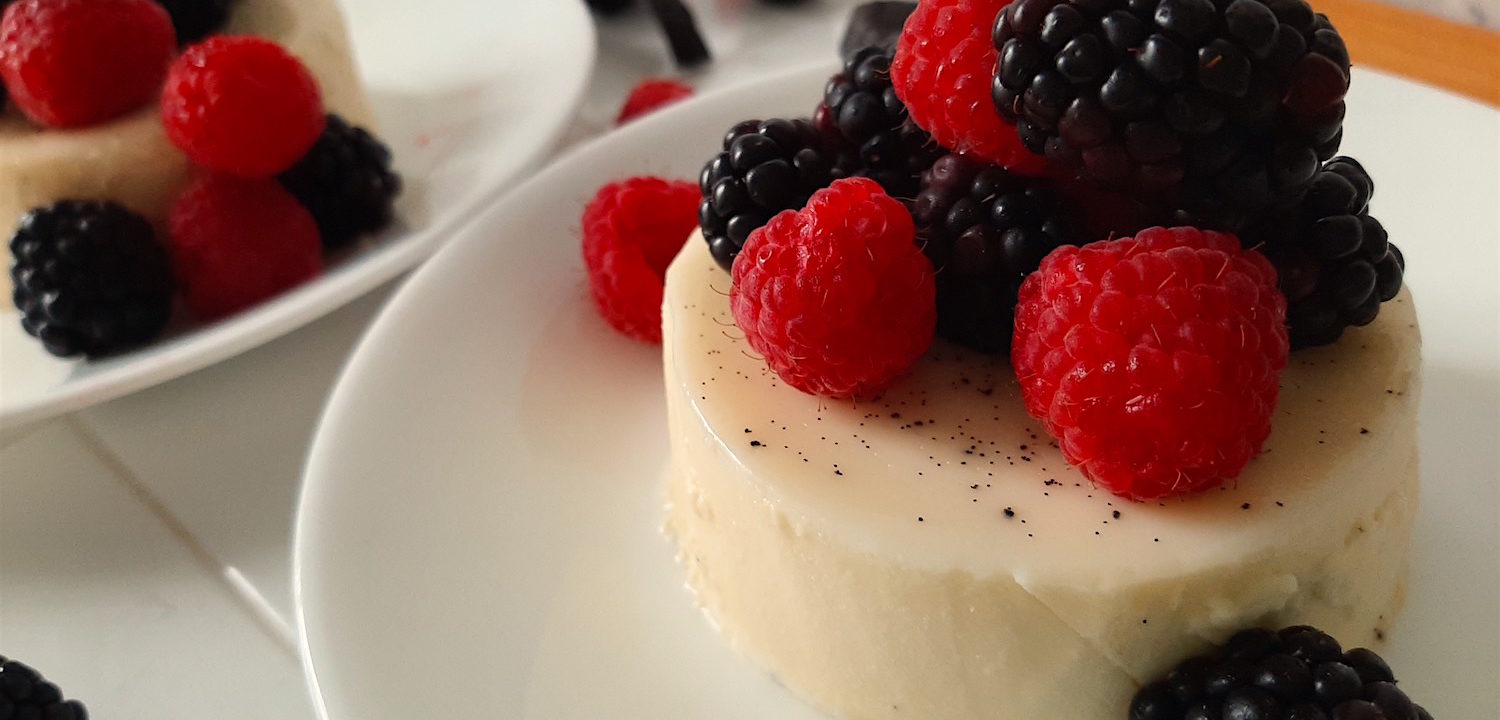
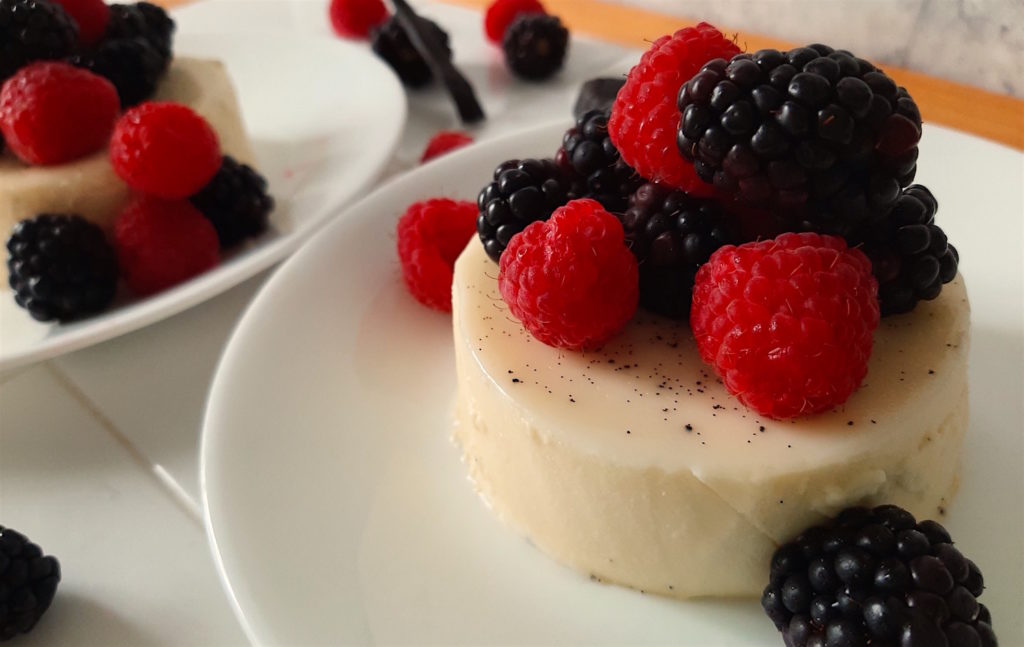
Recipe: Vanilla Bean Panna Cotta with Fresh Berries
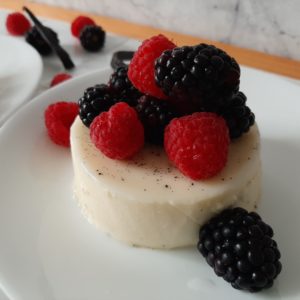
A fancy dessert that takes almost no effort at all. It's creamy, light, and elegant. Dress it up however you want according to the season!
- 2 1/2 cups Heavy Cream
- 3/4 cup Whole Milk
- 1 tbsp Gelatin unflavored
- 1/3 cup Caster Sugar
- 1 Vanilla Bean Pod split open
- Oil
-
Pour 2 tbsp of cold milk into a bowl and sprinkle the gelatin over. Stir to ensure even coating. Let sit.
-
Oil 6 ramekins or dishes with a light coating.
-
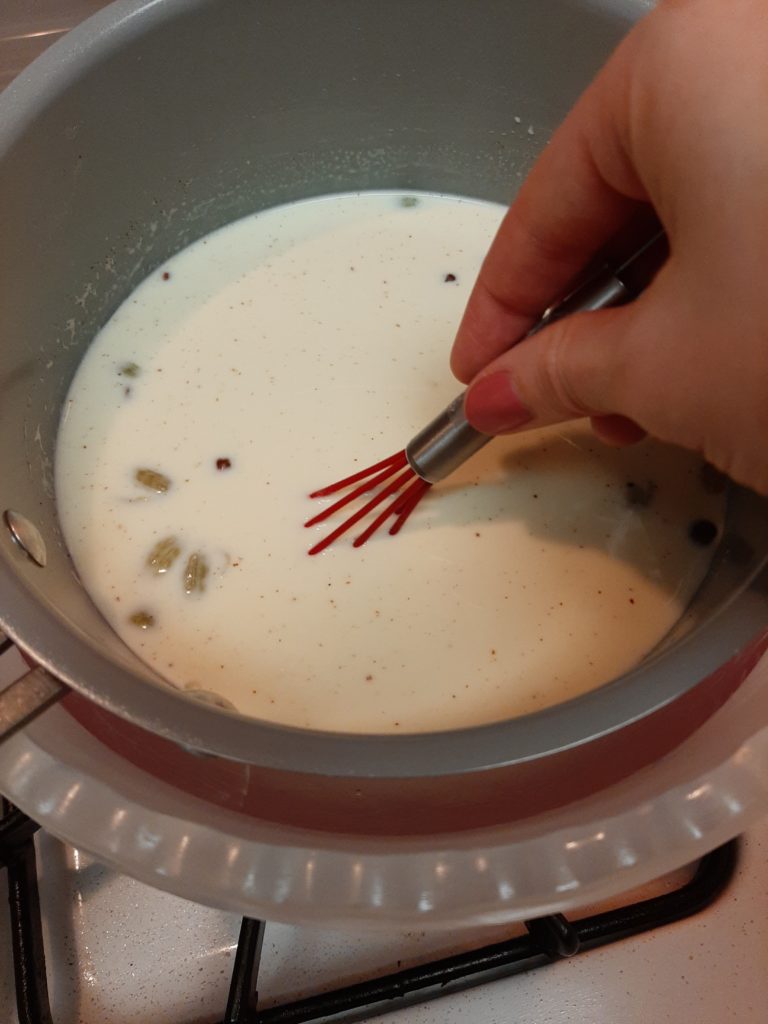
Place the cream, remainder of the milk, and sugar into a saucepan.
-
Slice the vanilla bean down the middle. Scrape the seeds inside into the saucepan. Add the pod to the pan as well.
-
Heat over medium-high heat, stirring to dissolve the sugar. Do NOT allow it to boil. Test the heat using your finger. It should be very warm to the touch, but not so warm that you can’t place your finger in the liquid.
-
Remove the saucepan from the heat. Add in the gelatin and milk. Stir until it is fully dissolved. Let cool to room temperature, stirring often. *
-
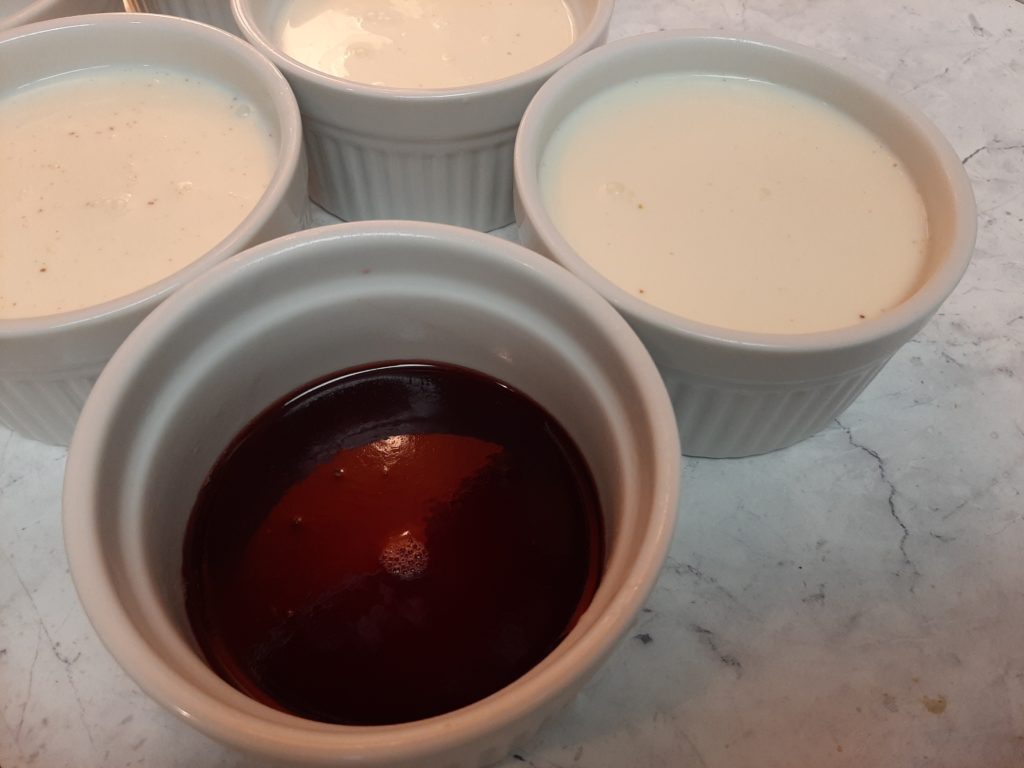
Set out your oiled ramekins. Pour cream mixture through a strainer and into each dish.
-
Place the dishes in the fridge for 2 hours to 4 days. Cover using plastic wrap directly over the cream if chilling for longer than 24 hours. **
-
Remove Panna Cotta from the fridge 10 minutes before serving.
-
If serving in dishes: add fresh fruit and serve.
-
If serving out of the mold: Create a warm water bath in a bowl. Run the edge of a thin knife just around the rim of the ramekins. Place the bottom of each ramekin into the water bath for 30 seconds. Place plate over the bottom of the ramekin and flip. Jiggle the ramekin slightly until the Panna Cotta is released on the plate. (If it does not release, place the ramekin back in the water bath for 30 more seconds.) Top with fresh fruit and serve!
* You can place the sauce pan in an ice bath after the gelatin is dissolved and stir for a few minutes. This will help the cream and milk remain homogenized so the fats won’t split when you pop them into the fridge. Stir just until it is room temperature and slightly thickened. Then add to your dishes and chill.
** 2 hours gets you a very very soft-serve panna cotta. You’ll have to serve it in its dish and it will be very runny. 4 hours is a little more firm, but still unlikely to keep a mold. Longer chilling will create a firmer set. These are the panna cottas you can serve on a plate since they retain their shape and only spread a little!
Budget Options:
Vanilla extract
If a whole vanilla bean pod is too pricey, go for about 1.5 tsp vanilla extract instead. Add it in at the same time as the gelatin.
Milk or Half and Half
Full cream versions are very rich and can get pricey. Instead, try different combinations of whole milk or half and half.
Panna Cotta Topping Ideas:
- Shaved Chocolate
- Espresso Cream
- Mango Puree
- Berry Compote
- Fresh Berries
Variations:
*Vegan
- Use agar-agar instead of gelatin
- Use coconut milk, almond milk, or soy milk
- You’ll have to use higher amounts of gelatin to account for less fat
*Dairy-Free
- Use coconut milk, almond milk, or soy milk
- You’ll have to use higher amounts of gelatin to account for less fat.
Chocolate Panna Cotta
- Add 5 oz. chopped bittersweet chocolate to the cream as it heats. Stir until dissolved.
- Proceed with recipe.
Coconut Lime
- Add zest of 1 lime into the cream mixture. (No juice! Acid denatures gelatin.)
- Either substitute coconut milk or add in 1 tbsp coconut flakes.
- Top with lime zest and toasted coconut flakes
Berry Compote
- If you want something a little more fancy than fresh berries or sliced fruit, this is the way to go.
- Slice 1 cup strawberries. Combine with ½ cup raspberries and ½ cup blackberries
- Place in a saucepan with 1 tbsp honey and a dash of salt
- Bring to a boil, stirring constantly. Will take about 15 minutes.
- (If you add gelatin here you can make this set as well for a different sort of topping)
- Pour the compote over the top of the panna cotta
Stracciatella
- Add shaved and chopped chocolate to the cream just before pouring.
- Stir once poured in the ramekins. Set.
- Top with shaved chocolate and strawberries
Bourbon Cherry
- Stir ⅕ tsp of bourbon into your mixture just before you strain it
- Soak fresh or frozen black cherries in bourbon for 30 min-1 hour
- Top with the bourbon soaked cherries
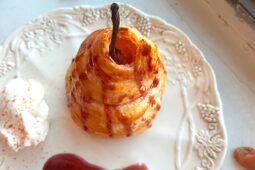
Cinnamon and Poached Pears
- Add 1 cinnamon stick and 3 cloves to the cream, milk, and sugar mixture.
- Discard cinnamon stick and cloves before adding gelatin
- In a saucepan combine 1 bottle moscato, 1 cinnamon stick, 5 whole cloves, 1 tsp ground ginger, 2 tbsp honey. Boil.
- Simmer pears for 15 minutes. Remove.
- Simmer the liquid until it reduces by half.
- Slice pears and serve next to panna cotta.
- Pour sauce over top.
Rum Raisin
- Soak raisins in rum for 30 minutes
- Stir 1.5 tsp of rum into your mixture just before you strain it
- Add the rains (throw out the liquid) to the bottom of the ramekins before you pour
Troubleshooting your Panna Cotta:
My Panna Cotta did not set! It’s still watery!
It’s okay! This is fixable. This is exactly the reason I make mine the night before.
Soupy panna cotta can happen for a few reasons: boiling the cream mixture or letting it get too hot, adding too little gelatin, adding fresh fruit juice into the cream, using old gelatin…basically things that can denature or inactivate the gelatin to stop it from working.
Solution:
- Take the panna cottas out of the fridge.
- Pour the mixture back into a saucepan.
- Heat to very warm.
- Add a second set of gelatin.
- Stir to dissolve.
- Pour back into ramekins.
- Place back in the fridge.
- Check in 2 hours to see if it’s set or starting to set.
- Breathe.
My Panna Cotta is too firm!
Overly firm likely happened because the liquid/fat content and gelatin ratio wasn’t to scale. There was either too little fat or too much gelatin. Or both! (Another reason to make it 24 hours in advance.)
Solution:
- It’s harder to fix this problem once it’s happened.
- You can make a whole new batch of panna cotta.
- Or you can make a really excellent sauce to disguise the problem.
My Panna Cotta separated into two layers!
This is actually a fairly common problem and comes from using milk and cream in one recipe.
Solution:
Short of making a whole new panna cotta, you won’t be able to just pop this in the pan and fix it. Instead, make a really great sauce and some fresh fruit to pour on top. It will still taste delicious!
In the future you can take preventative measures.
- Use half and half rather than milk and cream. Half and Half is homogenized so it will not split into sections. (Or you can use all cream, but that tends to make a very heavy, rich, thick panna cotta.)
- If you want to stick with cream and milk, cool the mixture to room temperature before straining and pouring into ramekins. Milk and cream chill at different speeds. If you put them both hot into the fridge, they’ll separate out as they cool. Then you end up with a clear gelatin/milk substance at the bottom and some sort of tough milk/cream custard at the top. (Remember, cream always rises to the top!)
- If waiting for the hot milk/cream/sugar/gelatin combination is taking too much time. Place the saucepan in an ice bath and stir constantly until it cools and begins to thicken slightly. Then pour into its ramekins and chill.
I accidentally boiled my Panna Cotta!
Oops! In a case like this, you’re one step ahead, since you caught it before you tried to set it in the fridge. Too high heat can denature the gelatin proteins and prevent it from thickening.
Solution:
Let it cool slightly and add half your amount of gelatin. Stir until dissolved. Resume recipe. It may have a slightly cooked taste to it in the end, but it will set and still be yummy.
And next time, watch your stove.
My Panna Cotta is lumpy!
Again we encounter the problem of balancing the gelatin. Too low heat and it never dissolves.
Solution:
You’ll have to eat lumpy panna cotta this time. But in the future, try adding the gelatin in as the cream and milk are still on the stove. Don’t let it boil, but keep it hot on the heat for at least a minute. Keep stirring. Then remove from the heat, still stirring. After another 2 minutes, test the mixture on the back of a spoon. If there are still granules, the gelatin hasn’t dissolved and you should keep stirring. If there aren’t, pour through a strainer and into ramekins to set.
My Panna Cotta is full of bubbles!
You probably whisked too hard and created air bubbles.
Solution:
- Eat this one and disguise it with sauce or fresh fruit.
- Whisk less hard next time. Nice and easy stir.


Leave a Comment